How to Use Samples
Preparation
Prepare Unity Environment
Read Platform Requirements to learn system and Unity versions EasyAR Sense Unity Plugin support and get Unity packages from the Unity website.
If it is your first time, suggest using LTS Releases from Unity.
Unity 2019.4
Unity 2018.4
Unity 2017.4
Prepare Sample Packages
Get EasyAR Sense Unity Plugin sample package from download page. Make sure to download package(s) with Sample in the filename.
Get Licensing
Before using EasyAR Sense, you need to register on www.easyar.com and get a license key .
Editor Project Configuration
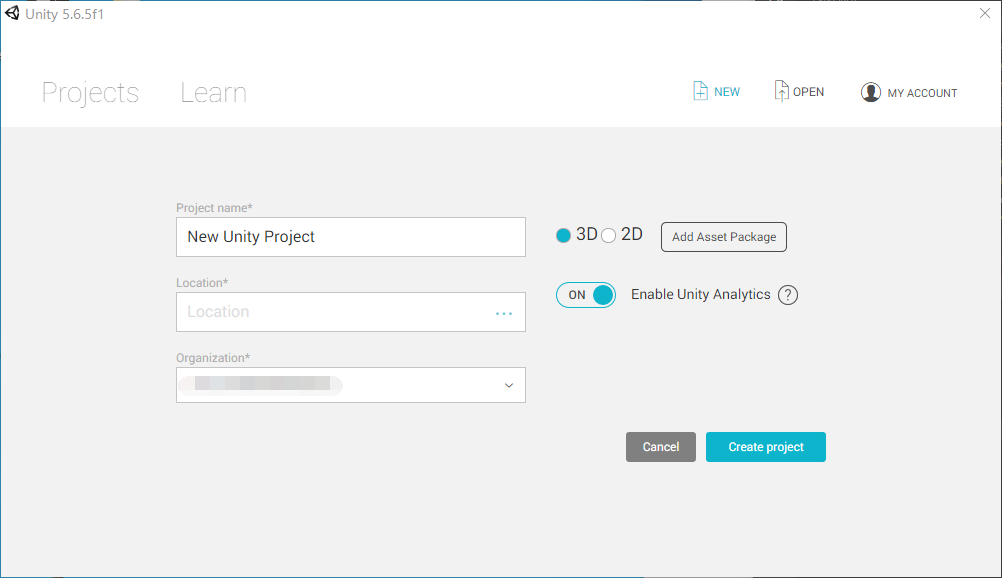
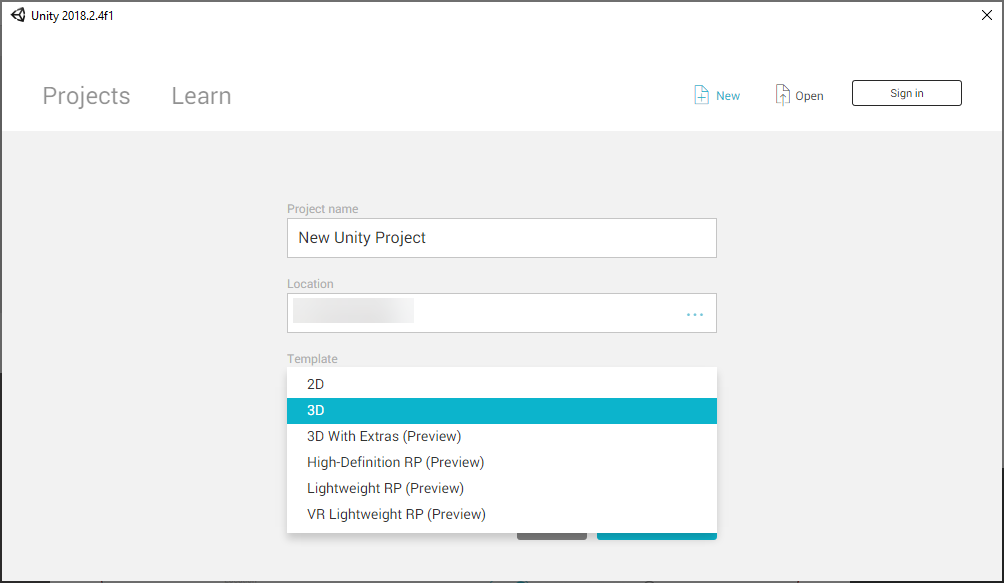
Create Empty Unity Project
Choose 3D template When create a project. EasyAR do not support Scriptable Render Pipeline like Universal Render Pipeline by default.
Import Plugin Sample Package
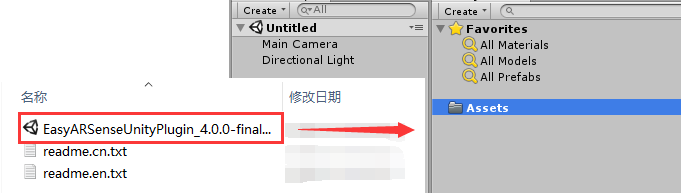
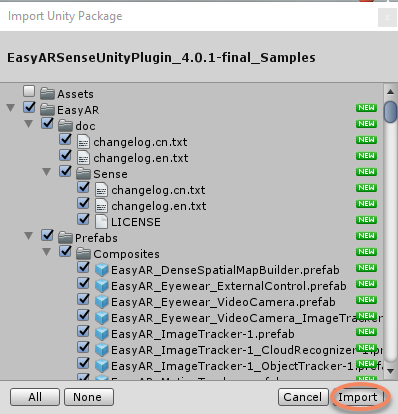
Extract the downloaded package, find the Unity Package(.unitypackage) of samples. Double click the package or drag it to the Assets folder in Unity to import the package.
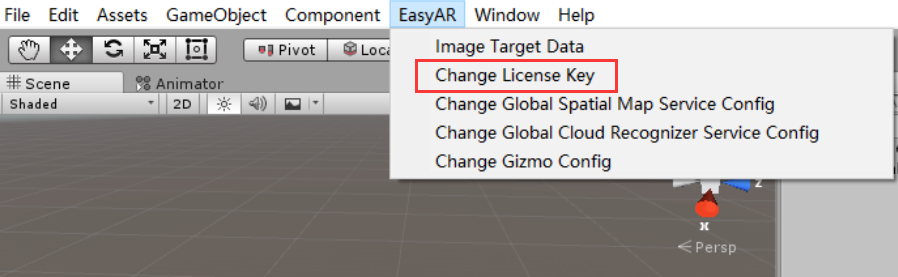
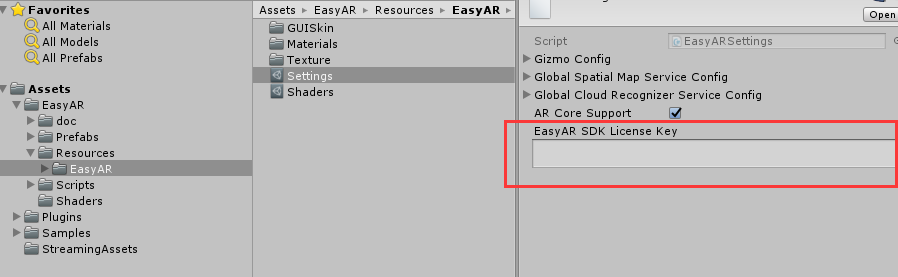
Fill in License Key
Choose <EasyAR -> Change License Key> from Unity menu and fill in the License Key in the Inspector created in the preparation stage.
Service Configurations
Some samples use EasyAR services. Service configurations are required for
This step can be skipped if not using above samples.
Add scenes
Add all scenes of the Unity project into build settings. Move the launcher scene (AllSamplesLauncher) to the top if there is a one in the package.

Run in the Editor
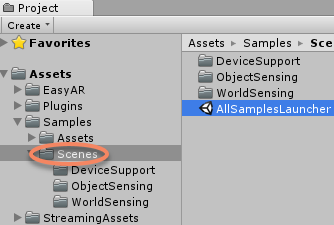
The sample scenes are in the Assets/Samples/Scenes. Open AllSamplesLauncher scene and it can launch all samples. Or you can choose to open a single sample scene to run.
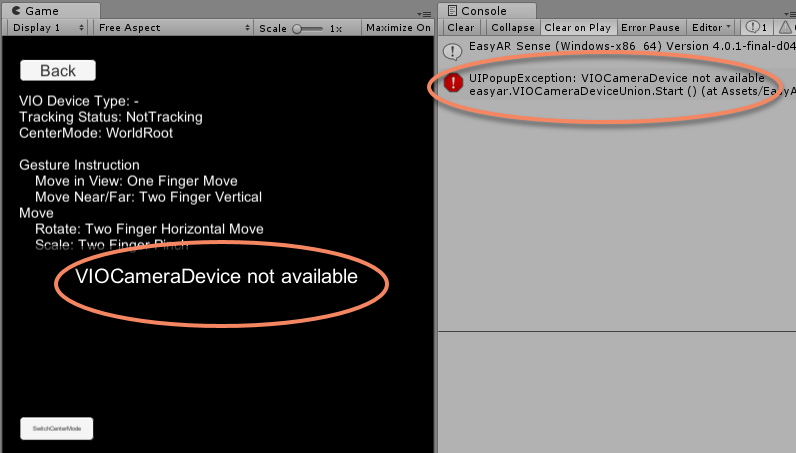
If a camera is connected to the computer, it can run EasyAR Sense Unity Plugin samples from Unity Editor after the above configurations.

To be notice, not all features can work in the editor. Some of them can only run on Android or iOS devices. There will be popup messages and error logs for those unsupported samples when running in the editor.
Run on Android Devices
Configure the project according to Android Project Configuration, then click on the Build button in Build Settings or use other alternatives will compile the project and install the binaries on the phone. Permissions should be granted on the phone when running.

Run on iOS Devices
Configure the project according to iOS Project Configuration, then build and run the XCode project. Permissions should be granted on the phone when running.